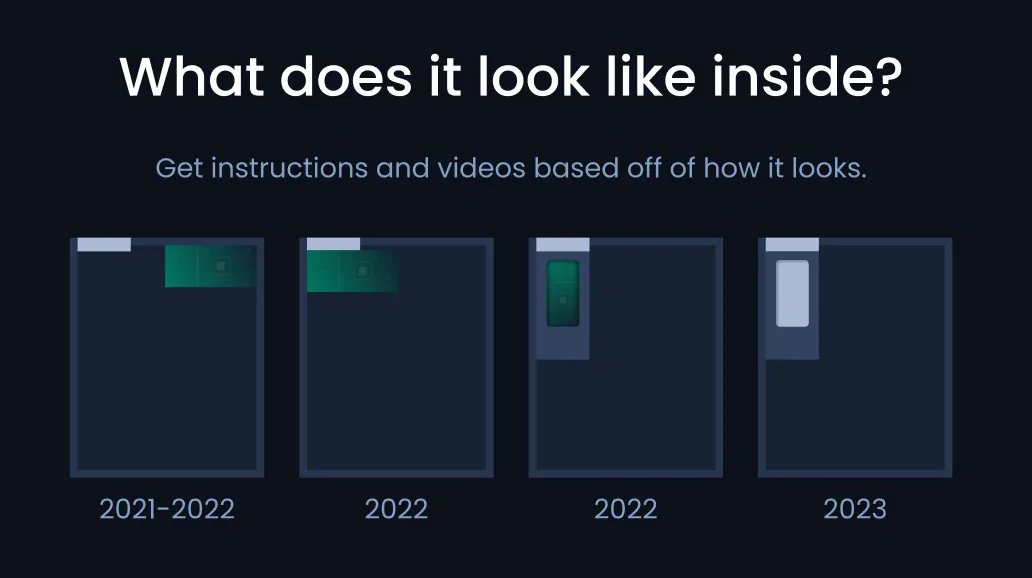

Open the correct panel
Use the panels below based on where your freeze dryer screen is mounted.
Top screen: if your screen is above your chamber, start by removing the top panel. Unscrew the top line of screws that attach the lid, then gently lift and pull back to access the inside.
On newer freeze dryers, you may need to remove all screws along the top and rear of the freeze dryer plus the screws affixing the screen to the top panel.
Bottom screen: if your screen is below the chamber, remove the right side panel. Unscrew the area around the bottom side vent on the right. You do not need to remove the entire shroud.
- For both styles, check the securing screws on the back of the freeze dryer.
- Top screen units usually need the top-most rear row removed.
- Bottom screen units usually need the right-side panel loosened from both the back and side.
- Use an Allen wrench that fits cleanly so you do not strip the screws.
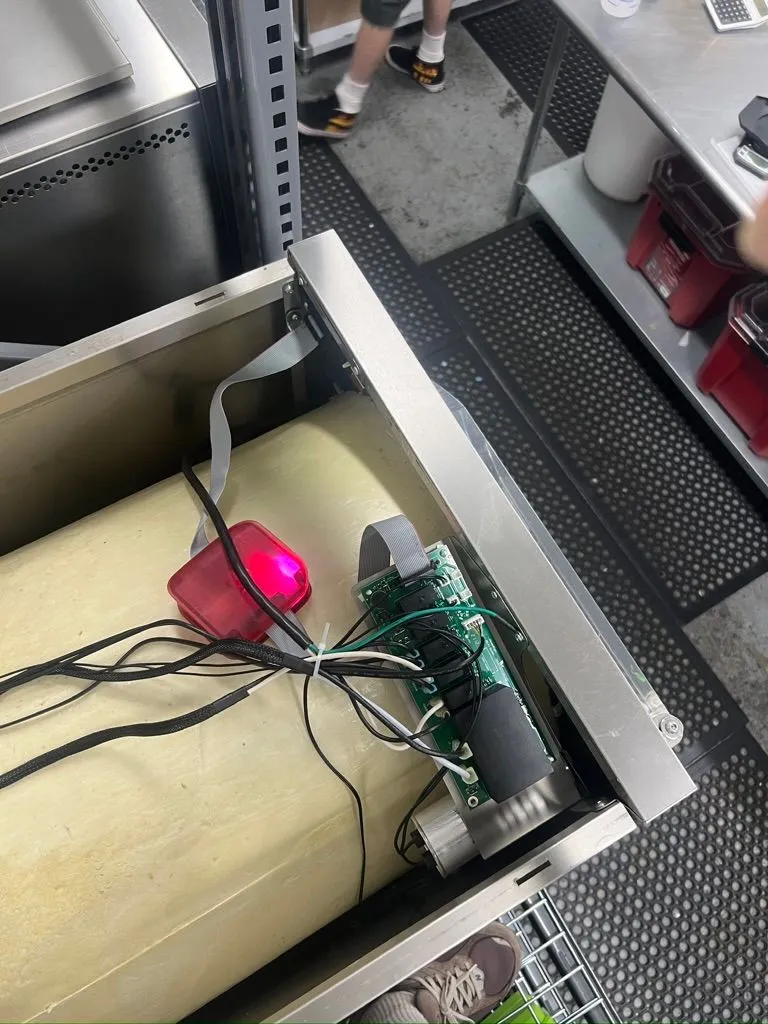
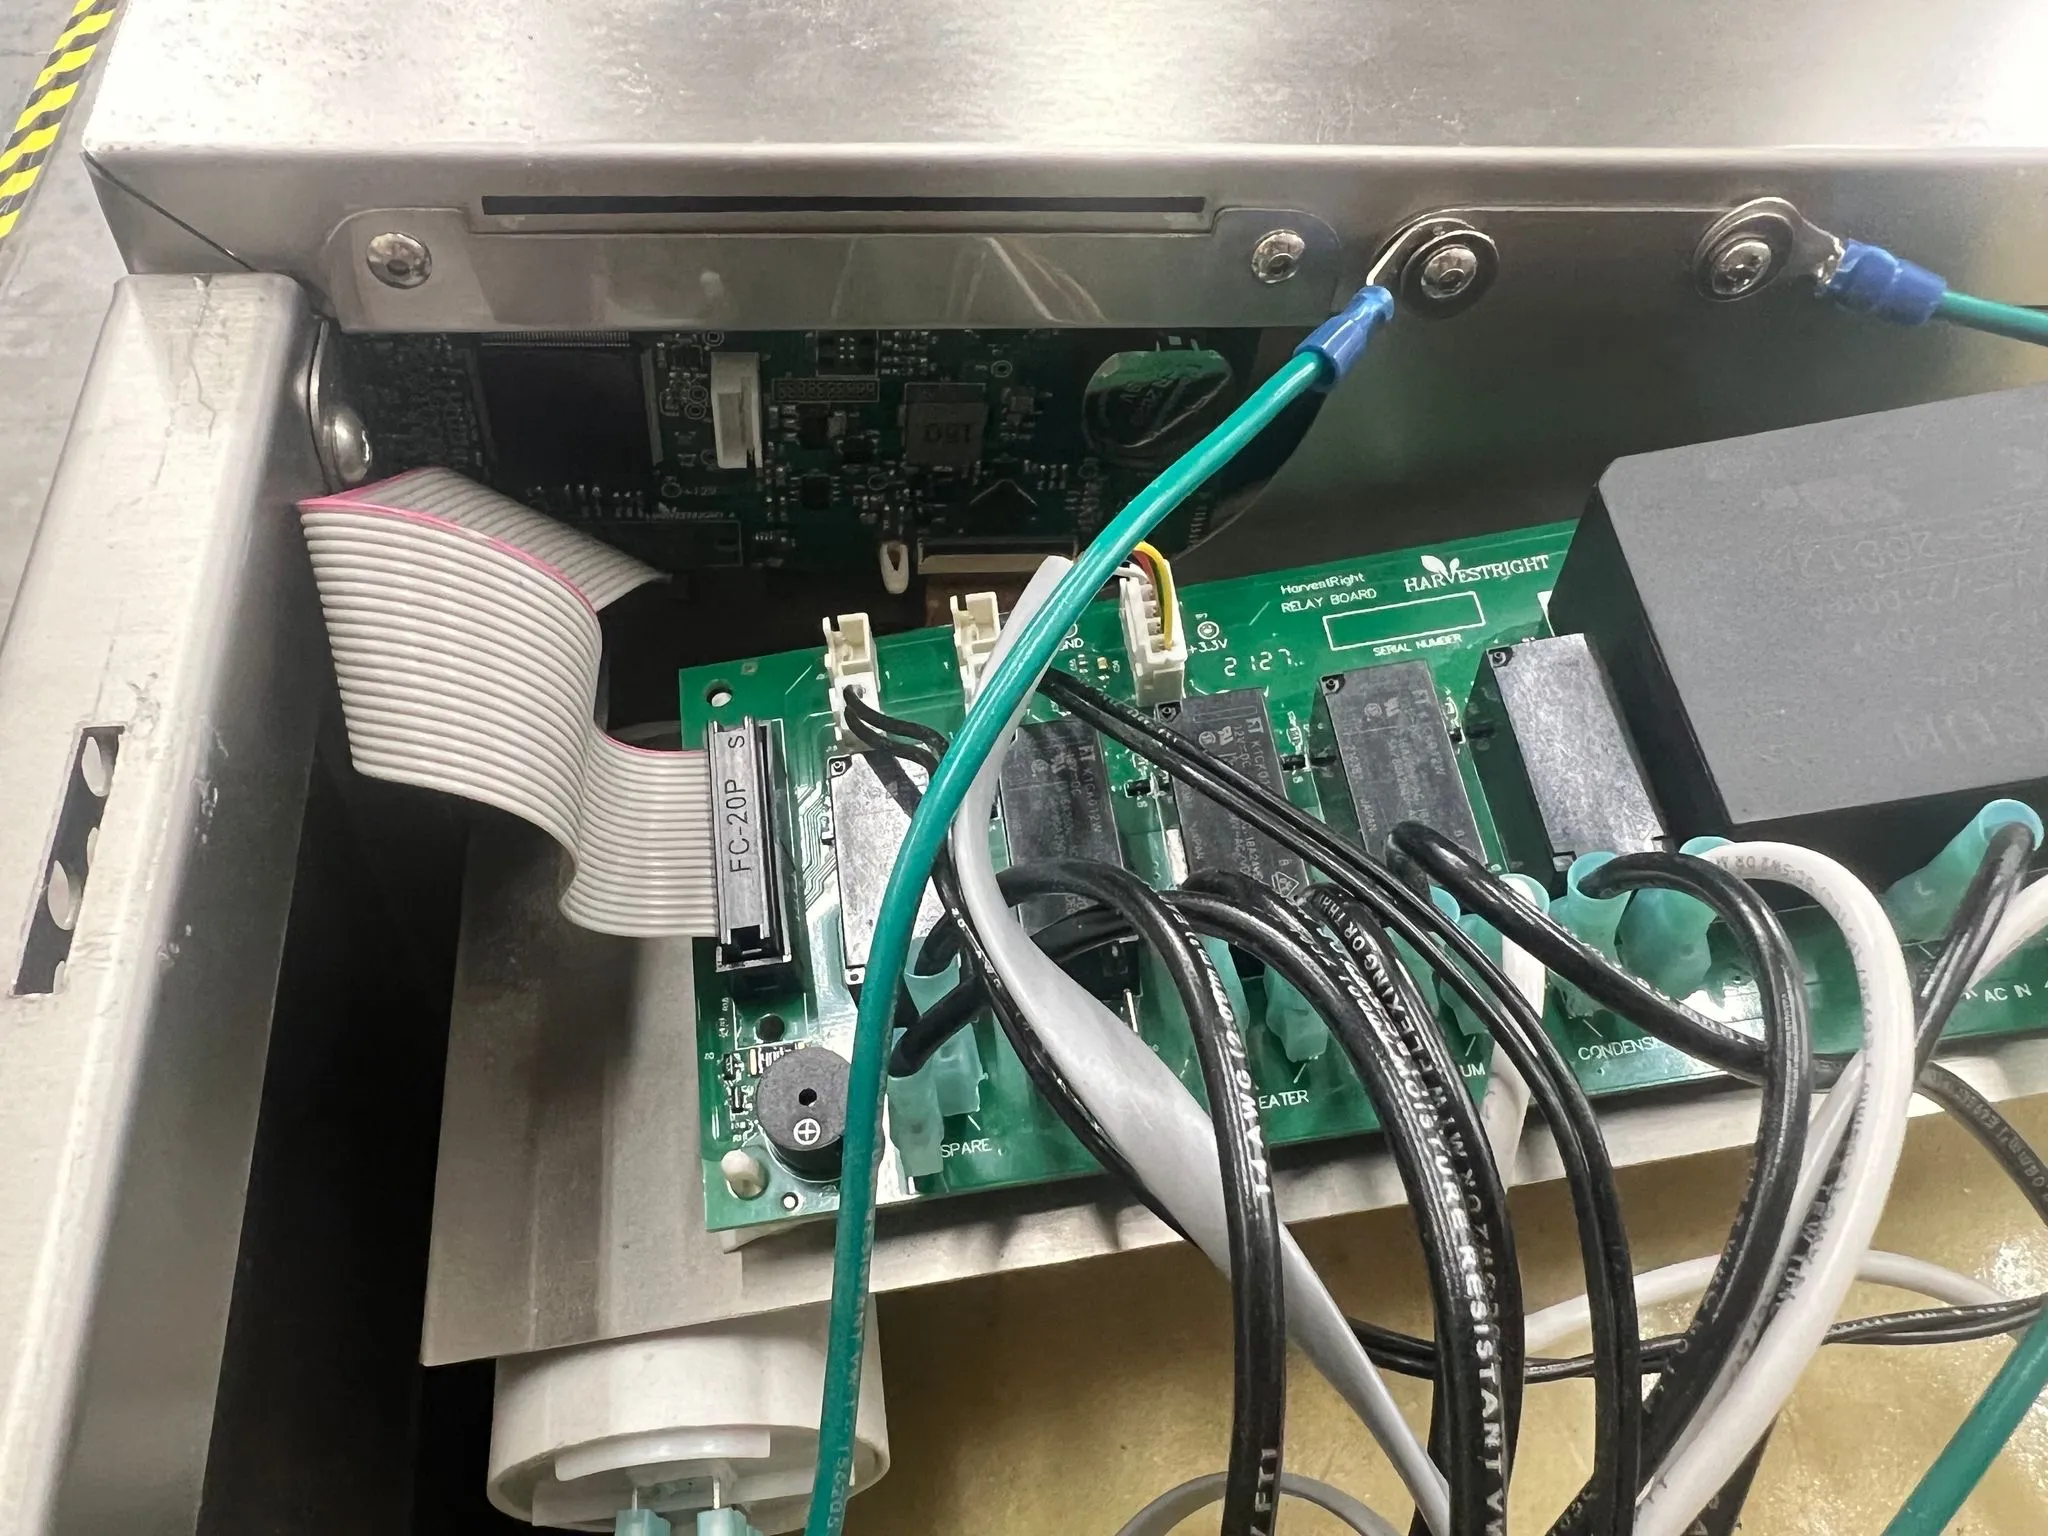
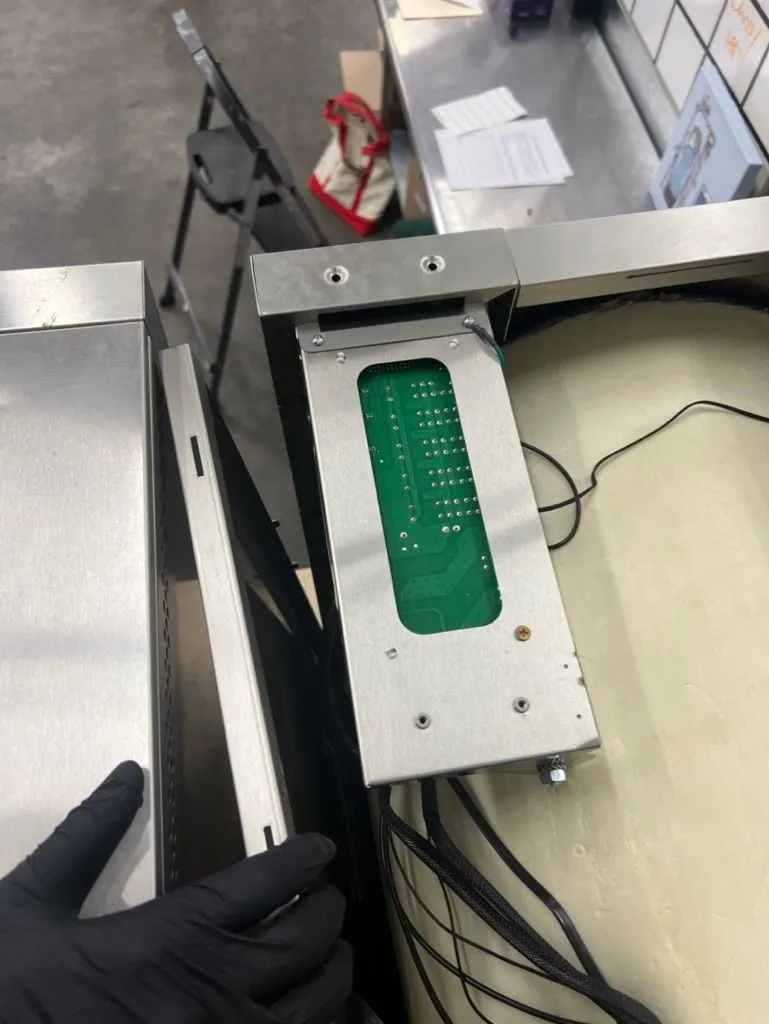
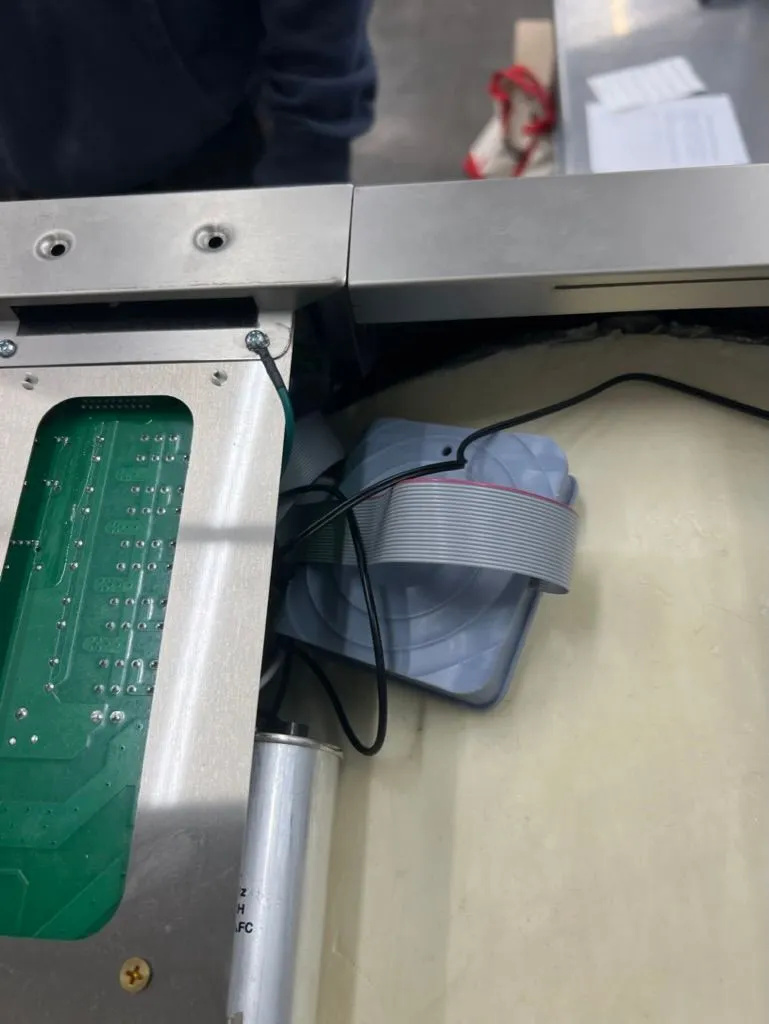
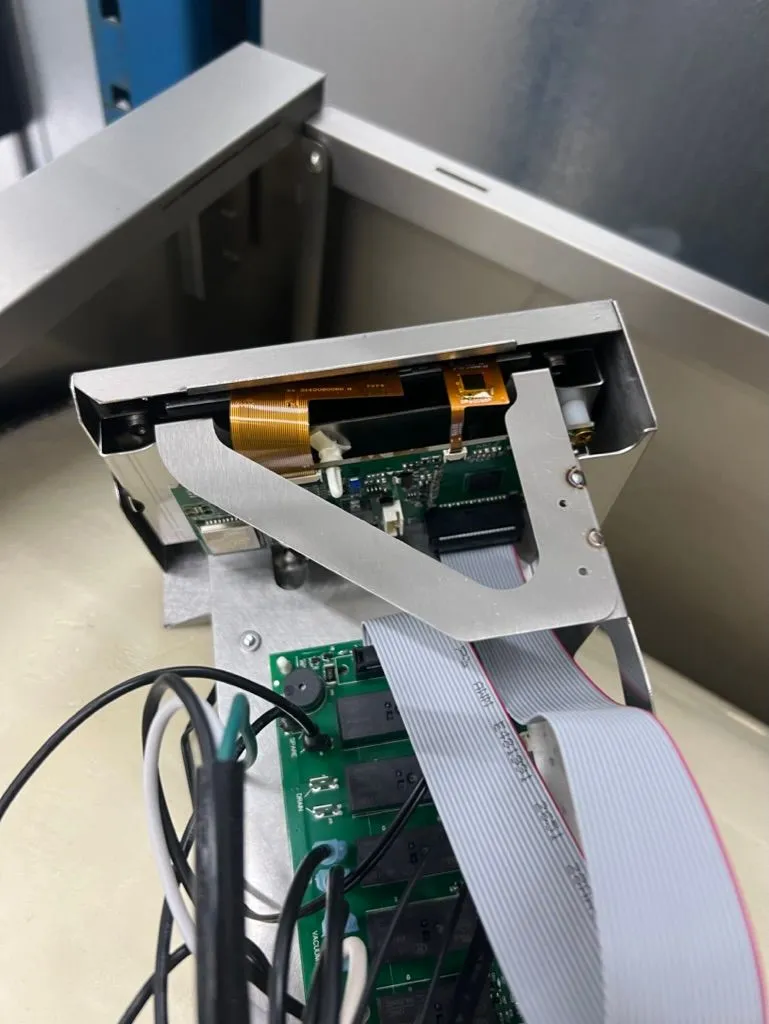
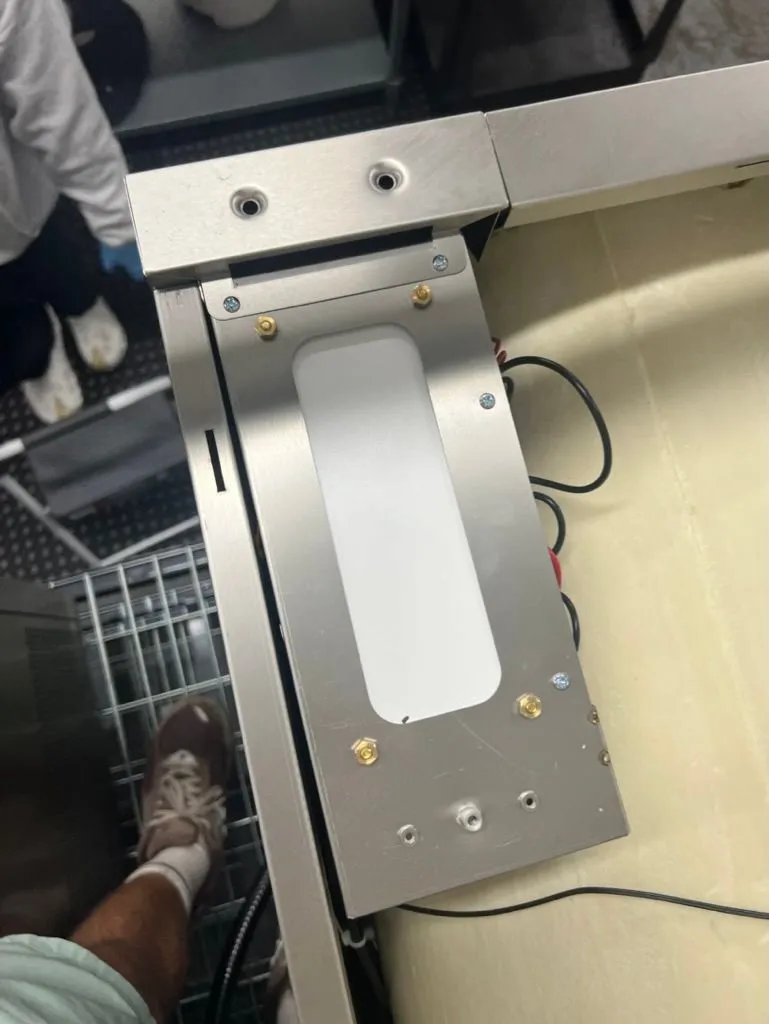
Reference photos
Compare your freeze dryer internals against these photos before removing the ribbon cable.